Monday, November 22, 2010

Pumpkin Pie Cupcakes with Cream Cheese Frosting

IMG_1627c.jpg

Ok...it's almost time to say goodbye to pumpkin recipes for a while. I had made some pies last weekend and found myself with about a cup of pumpkin puree left. I thought about what I could do with it for a little bit, then my 3 year old announced that he would like a cupcake. He basically asks for cupcakes daily...but at this moment I thought...cupcakes...that taste like pumpkin pie...covered in cream cheese frosting...oh yes, I must!

Ingredients

Cupcakes
2 Cups all-purpose flour
1 Cup sugar
1/2 Cup brown sugar
1 stick butter (softened)
1 Cup pumpkin puree
3/4 Cup milk
2 eggs
3 tsp baking powder
1/2 tsp baking soda
1/2 tsp salt (optional)
1/2 tsp cinnamon (heaping)
1/2 tsp ginger
1/2 tsp nutmeg

IMG_1620.jpg


Frosting
4 oz cream cheese (softened)
1 stick butter (softened)
3-4 Cups powdered sugar
1/2-1 tsp vanilla extract
1 Tbsp milk (more if needed)


Directions

Preheat oven to 375 degrees
Combine flour, baking soda, baking powder, cinnamon, ginger, nutmeg, and salt (optional). Sift them all together and set aside.

Cream the butter and white sugar, and then add the brown sugar.

IMG_1624.jpg

Add in the eggs and mix until fully incorporated. (about 2 minutes)

Next comes the pumpkin....this step looks rather odd, but go with it anyway, lol


IMG_1625.jpg

See...strange looking glop at this point

Now add in about 1/2 the dry ingredients, mix for 1-2 minutes then add half the milk. Repeat for the other half of the flour mix and the milk.

Fill muffin cups lined with cupcake liners about 2/3 full (I use the larger of my two cookie scoops) and bake for about 17-20 minutes (mine were done in 18 minutes for the first batch, 15 for the second). Makes 24 cupcakes.

To make the frosting, mix the cream cheese and butter until creamy. Add in the powdered sugar a little at a time. You can drop in milk a Tbsp at a time to get the consistency that you prefer. If you plan on using a knife to spread a small amount of frosting to the tops you could cut the recipe in half.

IMG_1627c.jpg

Thursday, November 18, 2010

Better Than Pumpkin Pie...pie

IMG_1586c.jpg

This pie has been a favorite in my family since I was pretty young. My mother found a recipe and changed it up a bit, but the finished product is beyond yummy. When I was in the Navy, I called my mom for the recipe...at least 2 times. I still have the piece of paper I scribbled the recipe onto while on the phone with her. This includes all the extra notes and tips she gave me throughout the conversation. There are a few people that still remember me for this pie...it is that good. There were some people at my shop that told me they weren't really the pumpkin pie type, but they tried it anyway. I was then informed that they could totally do this kind of pumpkin pie.

We always called it Pumpkin Cheesecake. This is not, however, a pumpkin flavored cheesecake, so I guess it needs a new name. I could call it Pumpkin+Cheesecake Pie....or Layered Pumpkin Cheesecake Pie...you will see what I mean as we continue.

Ingredients:

1- 9" deep dish pie crust, (you can make your own or buy one....it's good either way)

Cheesecake Layer
1- 8 oz package of cream cheese (softened but not warm)
1 egg
1/4 C sugar
1/2 tsp vanilla extract

IMG_1562b.jpg

Pumpkin Layer
1 1/4 C mashed pumpkin
1 C evaporated milk
2 eggs
1/2 C sugar
1 tsp cinnamon
1/2 tsp vanilla extract
1/4 tsp nutmeg
1/4 tsp ginger
1/8 tsp salt

IMG_1566b.jpg

Garnishments
20-30 pecan halves
maple syrup

Preheat oven to 350 degrees.

For this pie, I tend to just use the hand mixer, because it's rather easy. Put all the ingredients for the cheesecake layer into a mixing bowl and mix until thick and creamy. Place the mixed ingredients into the bottom of the pie crust and set aside.

IMG_1577b.jpg

Mix all of the pumpkin layer's ingredients together in a mixing bowl. This should come out pretty thin in comparison to the cheesecake mixture. Using a large spoon, or small ladle....spoon the mixed pumpkin ingredients on top of the cheesecake layer. Be rather gentle here so you don't disturb the cheesecake section too much.

IMG_1572b.jpg

Place the pie onto a cookie sheet and cook for 60-70 minutes. If the outer crust seems to be getting too brown, you can make a foil shield and place it around the edges.

Let cool for 15 minutes, then lightly coat the top with maple syrup.

In a small skillet, melt 2 Tbsp of butter and add 25-30 full pecan halves. Saute for about 2-3 minutes.

IMG_1582b.jpg

Remove and place on a paper towel lined plate. Place them around the edge of the pie....or make them into any fancy schmancy thing you would like.

IMG_1588b.jpg

I have entered this into the Love The Pie Party hosted by TidyMom

Love the Pie

Tuesday, November 9, 2010

Bubby's Pizza Dough

IMG_1535f.jpg picture by blainesmom_2000

For those that don't know me personally, let me explain a little about my 10 year old son. With his Autism comes MAJOR food issues. He is terrified of most food and has a very short list of things allowed into his mouth at any time. For some time now, his thing has been pizza....at first, it had to be Pizza Hut hand-tossed only....anything that deviated would not be touched. Well, since I have been out of the working world for a little over a year now....that was just too much $$. I went through a million pizza recipes before I stumbled upon a pizza forum that was filled with die hard pizza gurus. They walked me through several things that have helped me so much. I know that the best doughs are the ones that are refrigerated for a couple of days to ferment....that weighing the ingredients is helpful....that bread flour makes a much much better dough. Eventually, it got to the point that I couldn't always make dough 2 days in advance...something would come up... all too often. I finally settled with a same day dough....which was still worlds better than the recipes I started with.

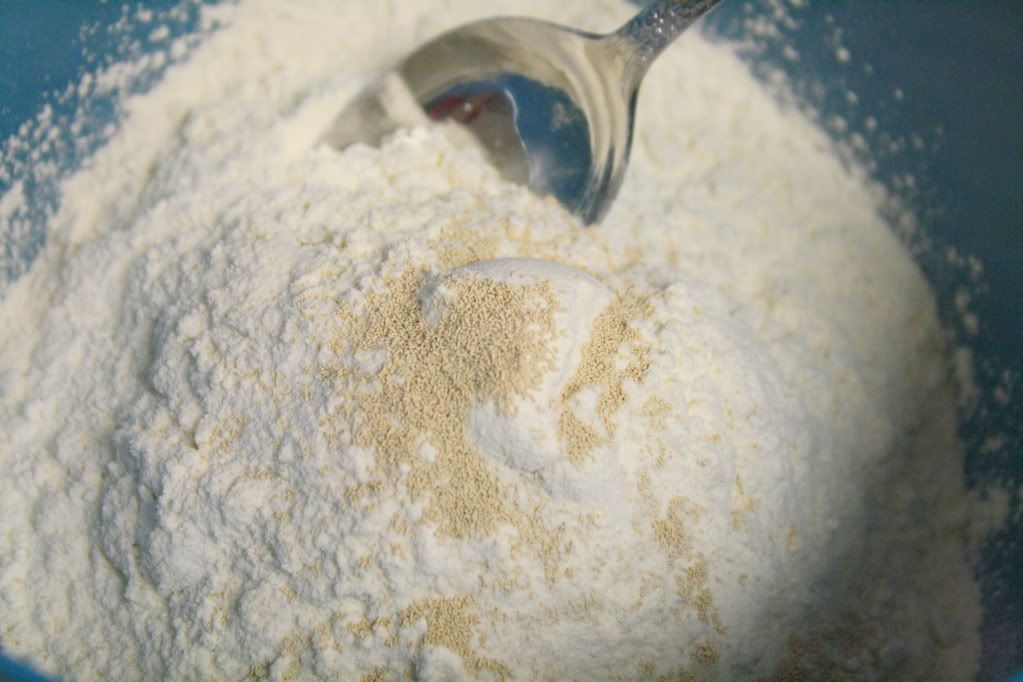
I will share with you the recipe that I have ingrained into my head....I make this dough 5-6 days a week. Since I do weigh my ingredients (flour and water) I had to measure things out to convert it for a recipe. That being said, you will have to measure the same way I do....it's not hard ;) First, and most importantly, never scoop the flour out of the bag (or container) with the measuring cup. This packs the flour and you end up with a lot more than you should. Too much flour makes a very dense non-airy pizza. Instead, use a spoon to put flour into the measuring cup, then with the back of a butter knife (I sometimes use an index card) level off the top of the cup.

This recipe uses instant dry yeast (sometimes labeled as "Yeast for Bread Machines")....this makes it a very easy yeast dough in my opinion. Mostly, because instant dry yeast (IDY) only requires one rise....and it does not need to be proofed in water first. If you wanted to use active dry yeast (ADY) you would use 1 1/4 tsp and let it rise, punch down, then let it rise again.

I usually do this with my mixer, but I have done it by hand when the baby was sleeping, so it can be done. I will give directions assuming a mixer is being used.
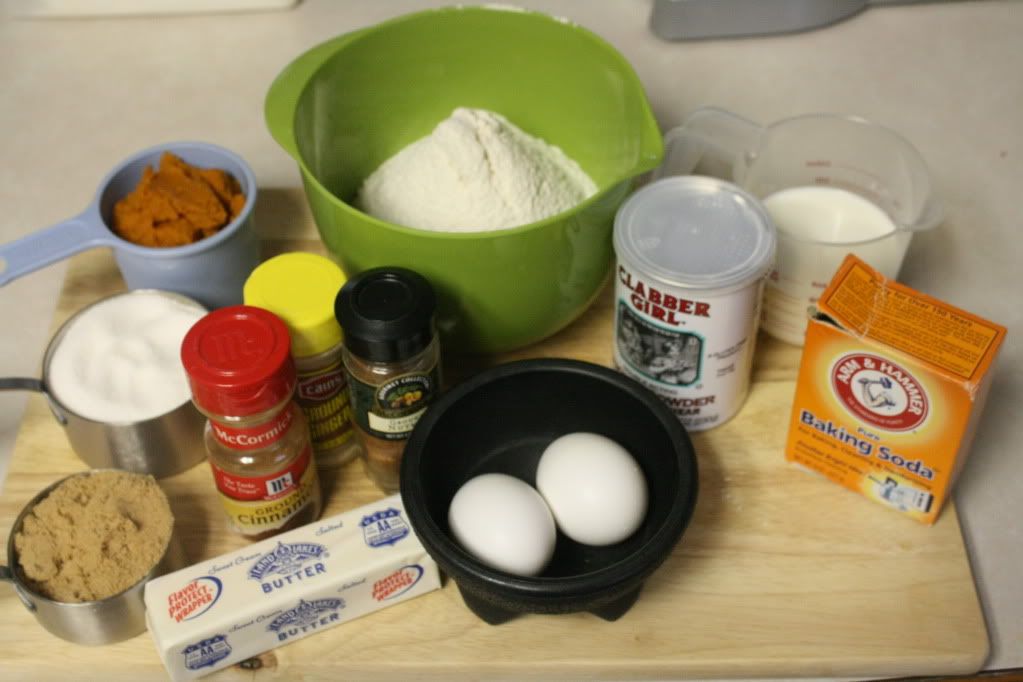

IMG_1507c.jpg picture by blainesmom_2000


Ingredients:

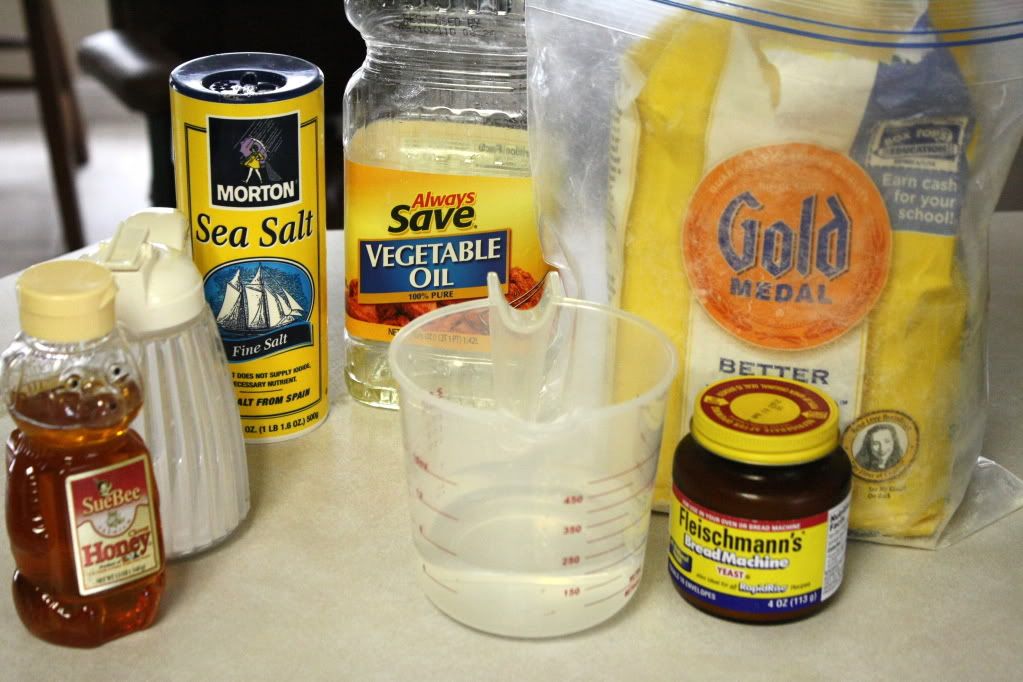
2 3/4 Cups + 2 Tbsp Bread Flour
1 scant (slightly less than) cup of warm water (not hot)
1 Tbsp Sugar or Honey (or a combo of both)
2 Tbsp Vegetable Oil
1 tsp Instant  dry yeast (or yeast for bread machines)
1 tsp salt

Directions:

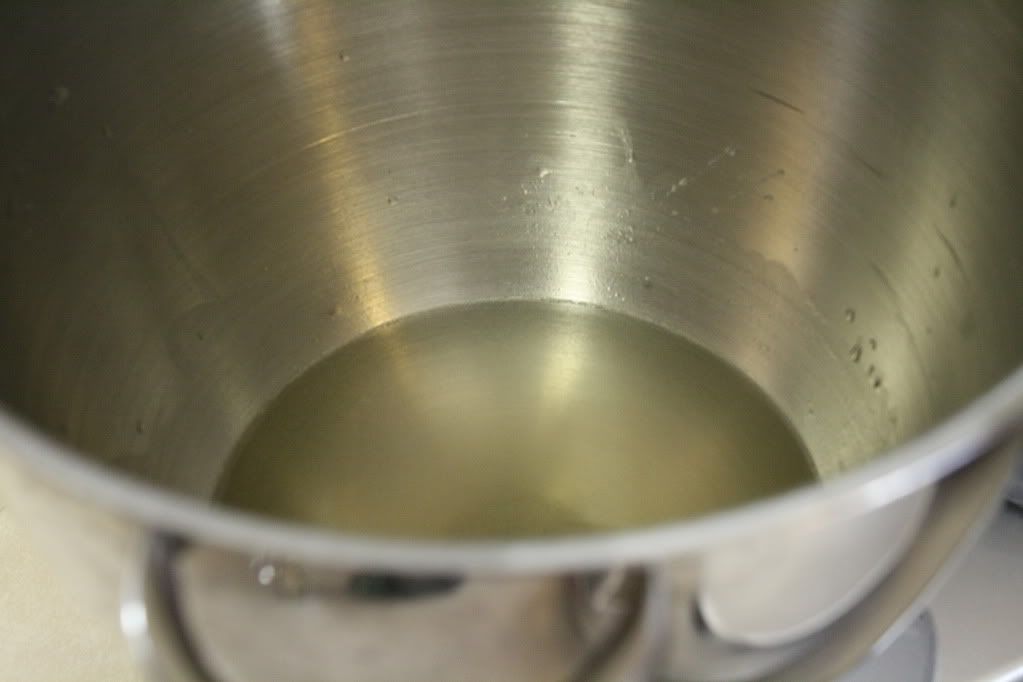
1. Put the water, oil, sugar &/or honey and salt into the mixing bowl. Stir until dissolved

IMG_1508.jpg picture by blainesmom_2000

2. In a different bowl mix the flour and yeast together

IMG_1509f.jpg picture by blainesmom_2000

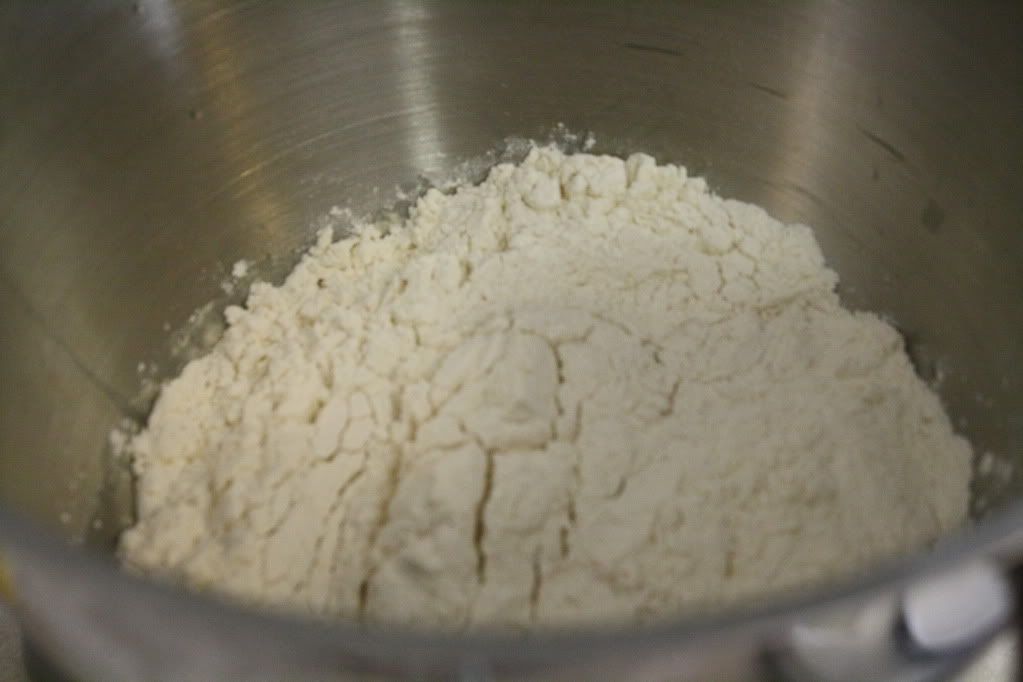
3. Pour all the flour/yeast into the mixing bowl with the water mix.

IMG_1512.jpg picture by blainesmom_2000

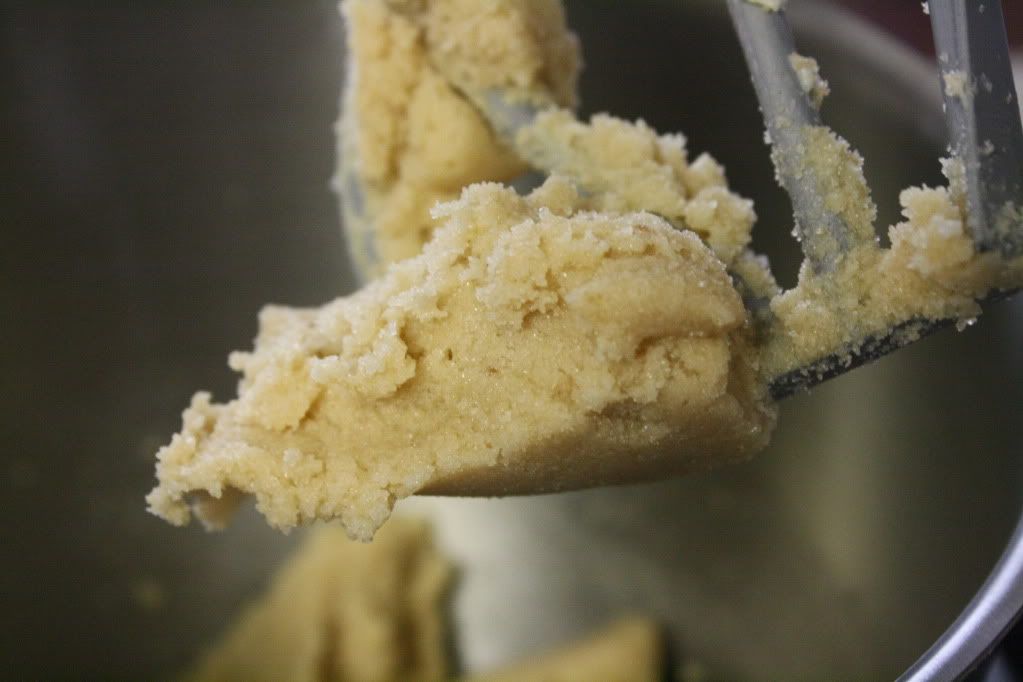
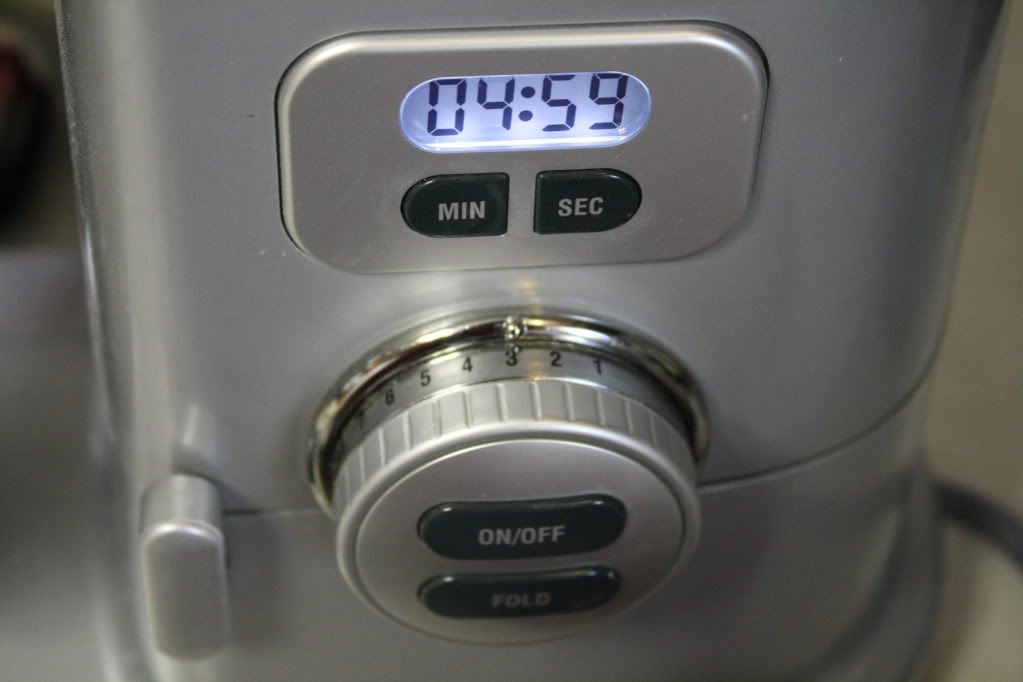
4. Using the dough hook, mix the dough on a lower speed for about 5 minutes.

IMG_1513.jpg picture by blainesmom_2000

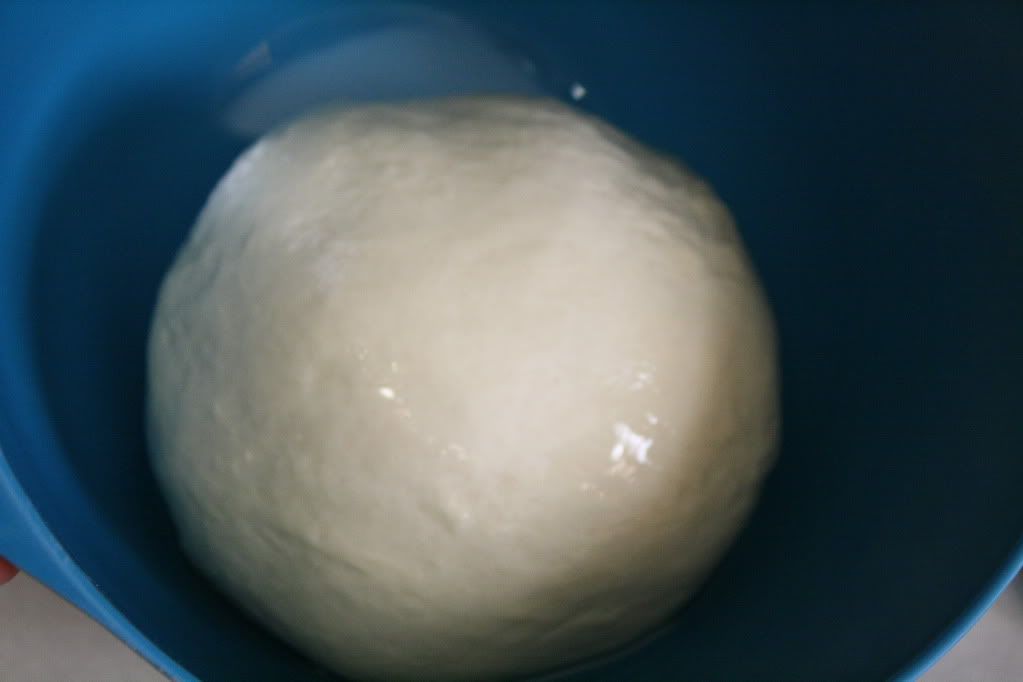
5. Once the dough is removed from the mixer, I usually knead it by hand for a minute or two, then roll the dough into a ball. Lightly coat the bowl and the dough ball with oil. Cover with a clean cloth and let rise for 1.5-2 hours. (may take longer if it is really cold in your kitchen)

IMG_1515.jpg picture by blainesmom_2000

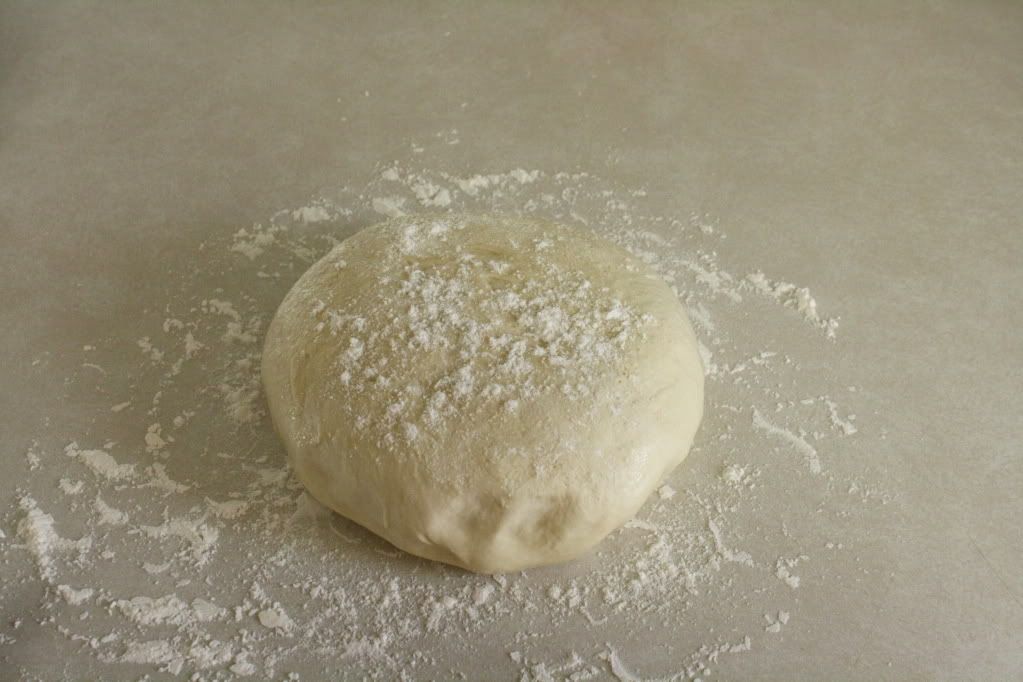
6. Lightly flour a clean surface and remove the dough from the bowl. Sprinkle some flour (not a lot) on the top and smooth it around. Flip the dough over and do the same for the other side. Preheat your oven to 475-500 degrees F...yes, that is hot.

IMG_1523f.jpg picture by blainesmom_2000

7. Push the dough out using your hands. Do not use a rolling pin, because it will flatten all those nice bubbles that will cook up into airy pockets in your dough....and that's just wrong.

IMG_1524f.jpg picture by blainesmom_2000

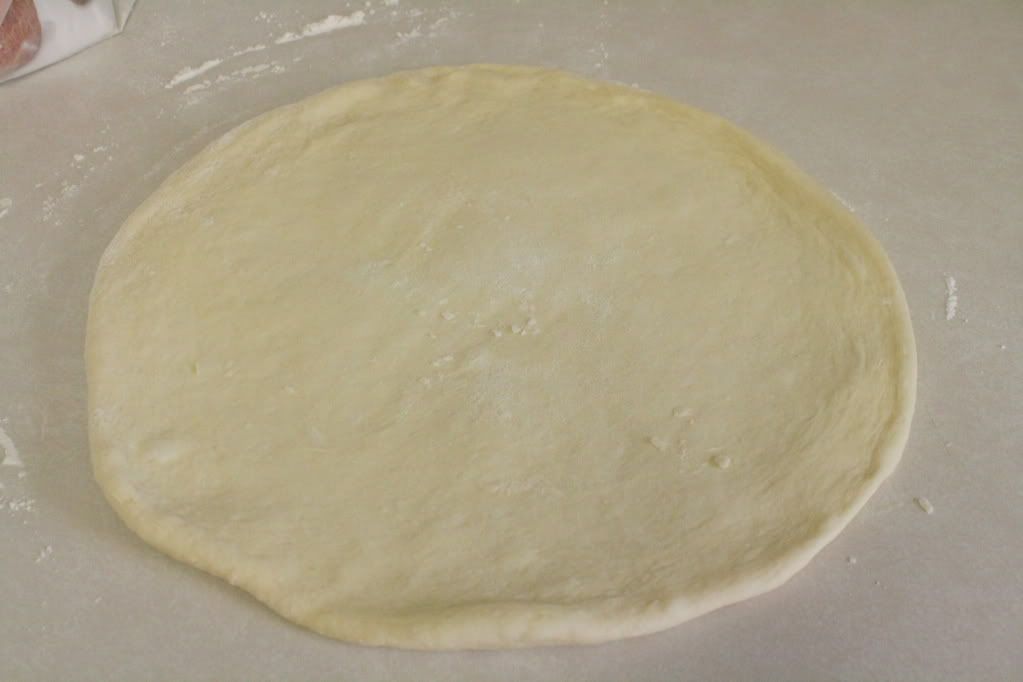
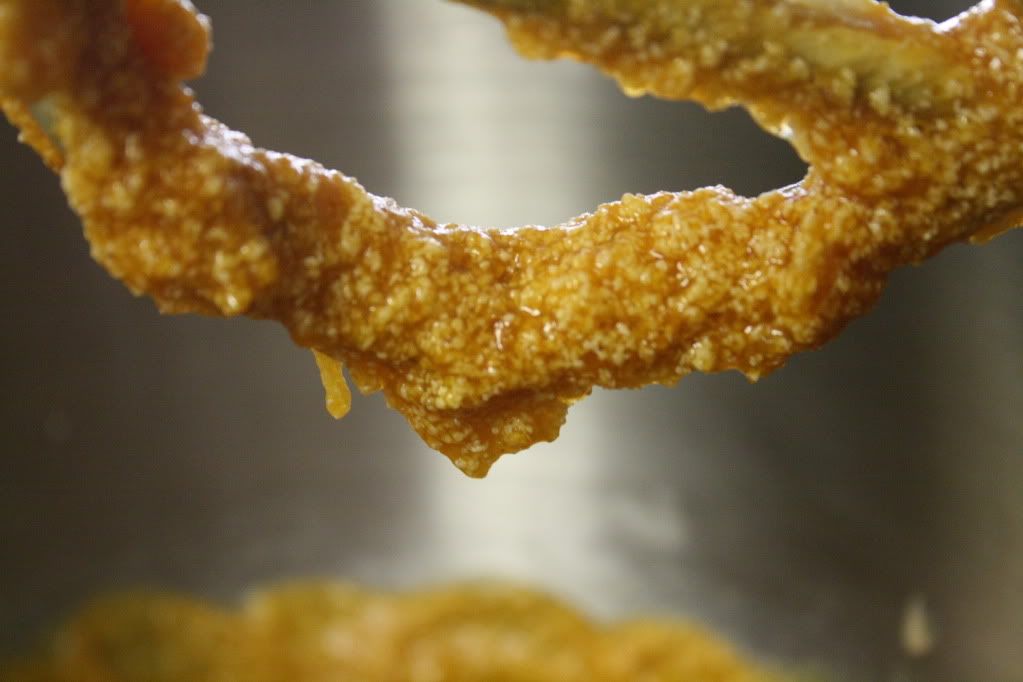
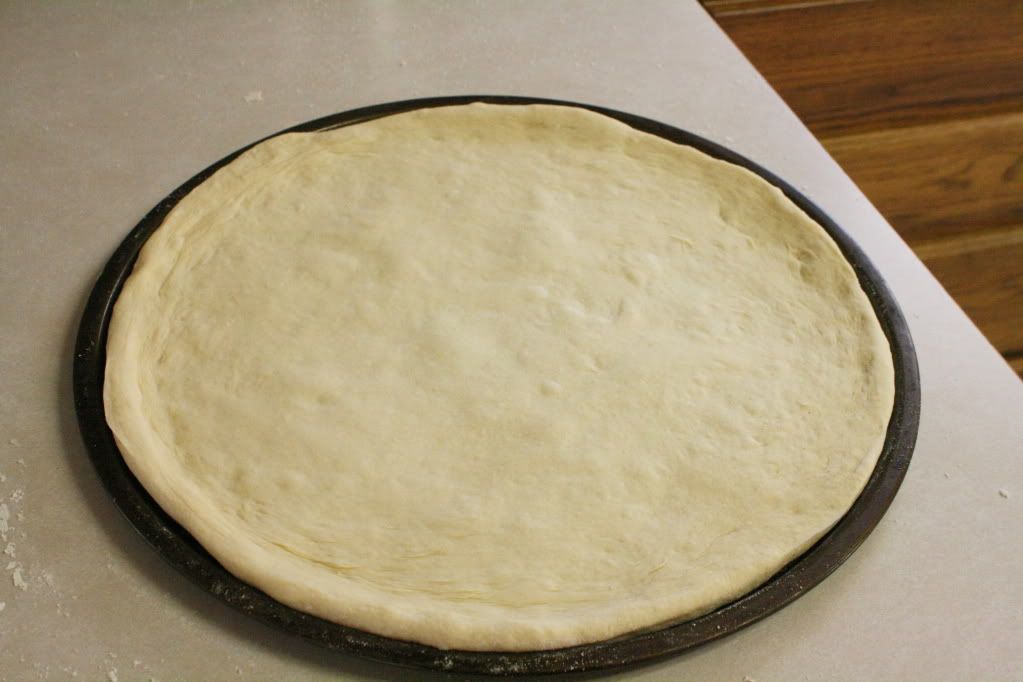
8. Place the dough on a pizza screen or a pan (the pan in the picture is one of those air crisp pans with the holes in the bottom like 
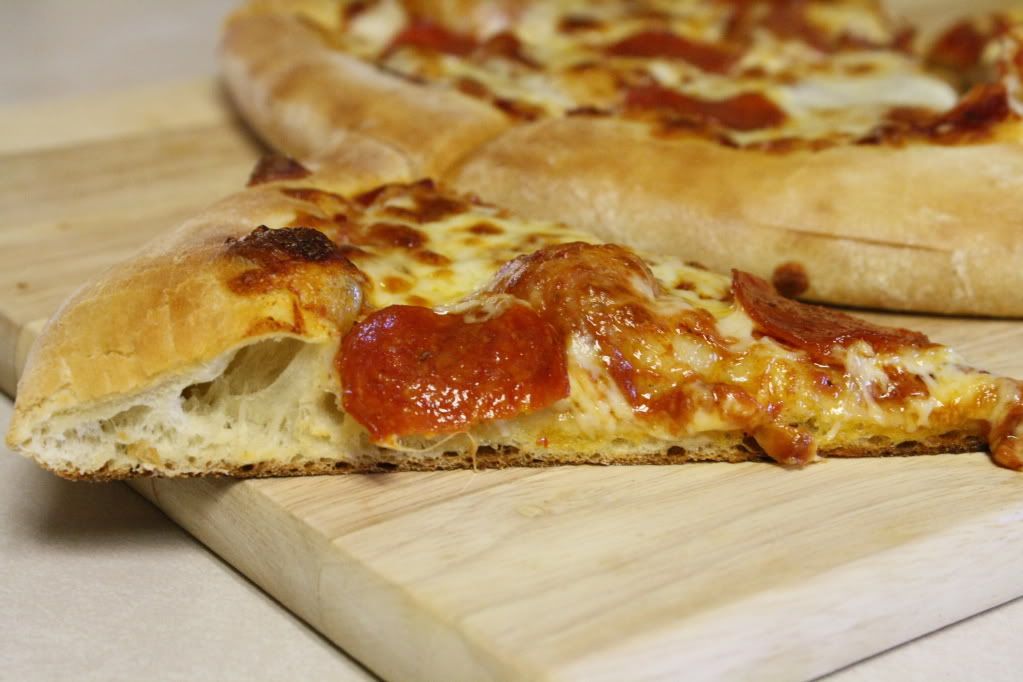
this) If you look closely at the dough, you can see several bubbles....these are future air pockets, aren't they lovely??

IMG_1526f.jpg picture by blainesmom_2000

9. Just a tip from trial and error....that cheese at the grocery store, you know the fine grated "Pizza Blend"...is no bueno on pizza. For one, the cheese is so thin that it will burn before the crust is cooked...and well, it tastes odd too. For a simple pizza, just grab the bag of larger shredded mozzarella. Then add your toppings! (since this is Bubby's pizza, it is, and always will be, pepperoni. Don't try to cover all the sauce in cheese.....I promise, it will melt.

IMG_1529f.jpg picture by blainesmom_2000

10. Place the pizza into your 475-500 degree oven and bake for 8-10 minutes. Start watching it after 8...make sure the cheese is good and bubbly and that the crust is browning.

IMG_1532f.jpg picture by blainesmom_2000

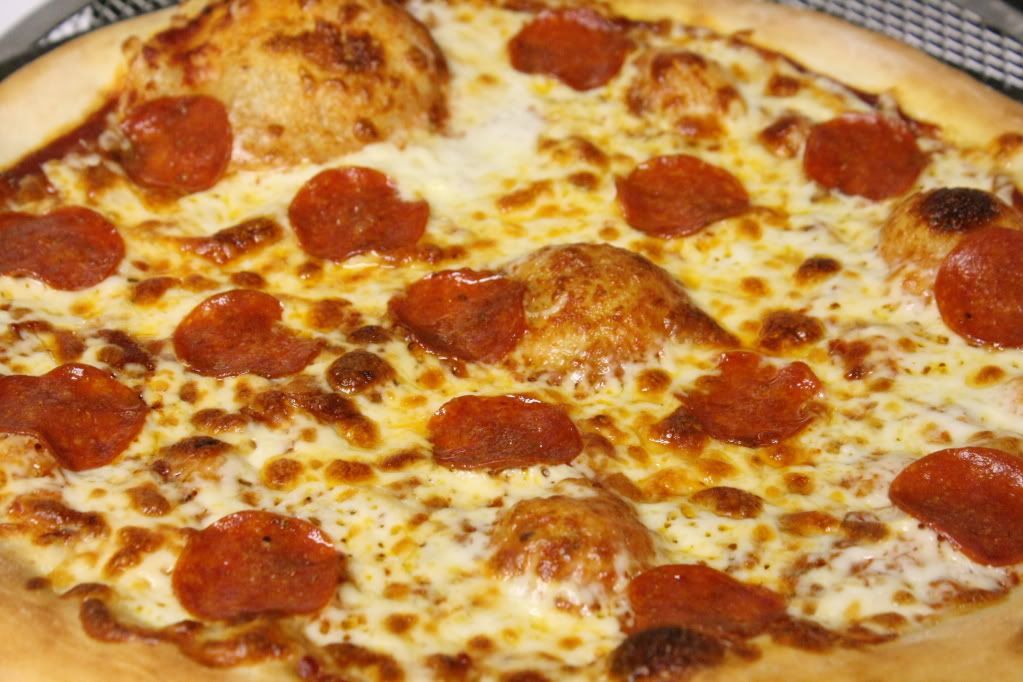
All that's left to do now is dig in! Let me know if you give this a try!

Here is the simple sauce I make, but you can use your favorite!

1-6 oz can tomato paste
6 oz of water (just use the can)
1/2-3/4 tsp oregano
1/2 tsp marjoram
1/2 tsp basil
1/2 tsp salt (totally optional....omit for sure if your tomato paste already has salt)
1/4 tsp garlic powder
1 tsp sugar

Just mix it all together and it's ready to go...no need to heat it up since it is going into the oven ;)

Monday, November 8, 2010

Pics from the weekend/birthday!

Unfortunately, baby J had a terrible ear infection and Roseola on his birthday...poor fella. We had to put his tiny party off for a couple of days. I had to rush through his cake, so it wasn't quite what I was hoping for, but at least it tasted yummy, lol. I also made a few cupcakes...the cake was in primary colors, so I dabbed a bit of color on the tops of the cupcakes.


SS had a good cuppy-cake face going too


Bubby didn't want cupcakes today, but he had fun playing outside


I am going to miss the warm weather.....

Friday, November 5, 2010

How quickly a year can fly by.....


Today, Baby J turns a year old. So very hard to believe.

Here's a small sample of the last year....
Brand new
 
4 weeks old

Loved this smile - 8 weeks old

Lip repair - 10 weeks old


post-op - 12 weeks old
 
Love the hat and those big blue eyes

Drool Rules!!!
 
Toofers!
 
such a sweet sweet face
 
Palate repair - 9 months old

First Halloween - 11 months old

Happy Birthday my sweet rainbow baby....you have been through so much this first year, but always came out of the fog with a smile on your face.


I love you!! 


Thursday, November 4, 2010

Bacon Cheeseburger Pockets

inspired by Taste of Home


Ok, here's the latest new food that I have tried to make. These were inspired by a recipe I found here on Taste of Home while looking for "kid friendly" meals. I have adapted the recipe to fit my needs/taste, etc....so it's not a complete review since I didn't make it exactly like the recipe. I cut it in half, replaced the shortening with oil (I am used to oil in my doughs...can't help it), omitted the butter, and added garlic.

Ingredients

DOUGH:
1 packages (1/4 ounce each) active dry yeast
1/3 cup warm water (110° to 115°)
1/3 cup warm milk (110° to 115°)
2 Tbsp sugar
2 Tbsp oil
1 egg
1 teaspoons salt
2-1/2 to 3 cups all-purpose flour


FILLING:
1/2 pound sliced bacon, diced
1 pound ground beef
1/2 small onion, chopped
1/2 teaspoon salt
1/4 teaspoon pepper
1-2 cloves minced garlic
1/3 pound VELVEETA Pasteurized Prepared Cheese Product, cubed
Ketchup or barbecue sauce, optional


Directions

In a large bowl, dissolve yeast in warm water. Add the milk, sugar, oil, egg, salt and half of the flour; beat in the mixer (if you have one). Continue adding flour until the dough isn't tacky, then form dough into a ball. Place in a lightly oiled bowl, turning once to grease top.


Cover and let rise in a warm place until doubled, about 1 hour.
Meanwhile, in a large skillet, cook bacon over medium heat until crisp. Using a slotted spoon, remove to paper towels. Chop the bacon and cube the cheese.


In a Dutch oven, cook the beef, onion, garlic, salt and pepper over medium heat until meat is no longer pink; drain. Add bacon and cheese; cook and stir until cheese is melted. Remove from the heat.


Punch dough down. Turn onto a lightly floured surface; divide into two pieces. Roll each portion into an 12-in. x 8-in. rectangle; cut each into six squares.


Place 1/4 cup meat mixture in the center of each square.


Bring corners together in the center and pinch to seal.


Place 2 in. apart on greased baking sheets. Bake at 400° for 9-11 minutes or until lightly browned. Serve warm with ketchup if desired. Yield: 1 dozen.
Review:
These were actually pretty good...SS even tried them, so that's a plus in my book. I think I liked the bread part most of all, and I see many future possibilities. (i.e. ham and cheese pockets, cheesesteak pockets...etc etc) I like that it did not taste like pizza dough...like most "hot pocket-like" recipes I have tried. If you had to make pizza everyday for an Autistic child, you too would want things to taste like something else, lol. These were even better on the second day, which is always a bonus.
For those that don't like or are nervous about yeast breads, I am sure you could try a similar approach using crescent rolls....or even (gasp) refrigerated pizza dough.
I think this would work fine with real cheese as well...which is what I will use next time.